
🆓 This member post is free for all, thanks to our paying subscribers. Enjoy!
Hi there!
We’re twenty issues in, which feels pretty good if you ask me. It makes sense that we’d be doing something (hopefully) substantial in this, the twentieth issue. Like building a website on our iPads, how about that?
We talked web design in the previous issue, and now we’re going to take that design and build ourselves a brand new site. Bored Horse, here we come!
My name is Thord D. Hedengren, and when I don’t drone on about the benefits of a more personal computing device – aka the iPad – I run a digital agency called Divide & Conquer. I’ve also written and sold some hundred thousands books on web development, mostly covering WordPress, so I’m not exactly new to this web development thing. My iPad has been a natural part of my workflow for years, and it is indeed my preferred device.
Most of the time I don’t build sites on it though. There are so many limitations with not being able to run local machines and whatnot. Well, that’s not necessarily a deciding factor anymore.
Bored Horse, which is the name of the site we’re building (yes, there’s a story there), won’t be WordPress. It’ll be very much JAMstack-y, which suits the iPad just fine. You don’t have to know what that means to benefit from this issue, but if you do, there might be a pointer or two in here.
This is what we’re doing
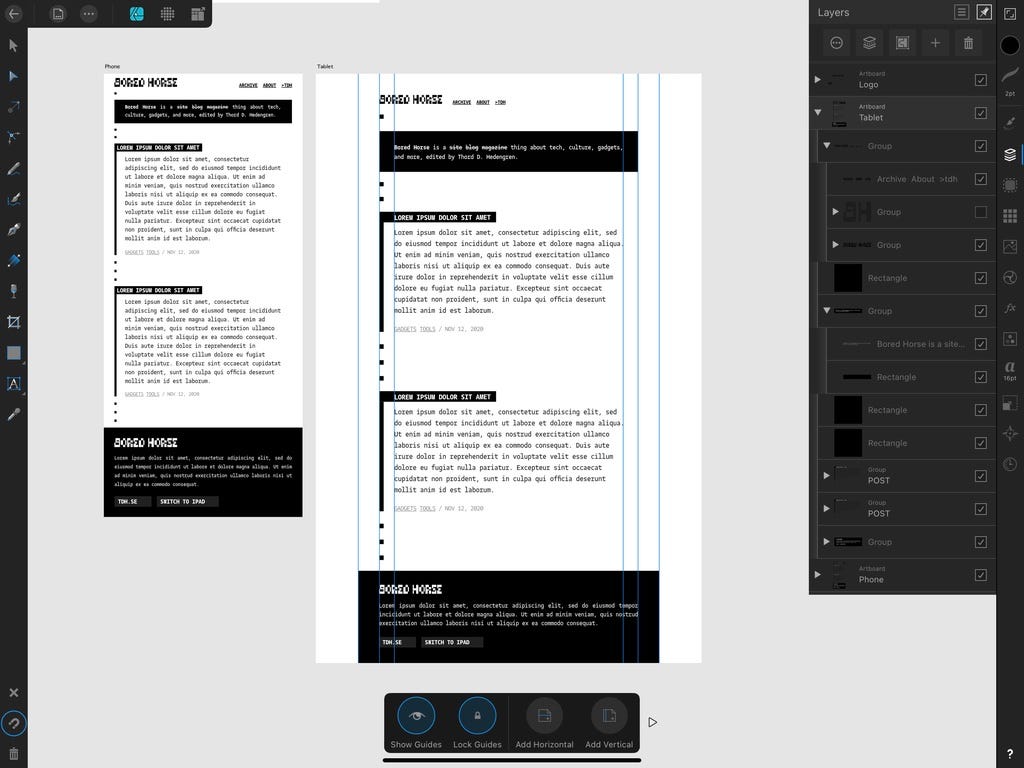
Bored Horse is a pretty simple site. It’s got a front page listing the latest updates, there’s an archive too, an informational (i.e. “about us”) page or two, and then there’s the actual articles, posts, whatever you want to call them. I covered the design in the previous issue, so if you want more than the Affinity Designer screenshot below, go read that.
So, from a more technical perspective then, this is what we’re going to be doing.
- We’ll rely on Eleventy, an up-and-coming static site generator system that I’ve been meaning to try out.
- The code will be a mix of HTML, CSS, and JavaScript, with Eleventy handling the build process.
- Eleventy needs Node.js to run, but we won’t be doing that today (short version: you can on an iPad, but not really), instead we’ll deploy to Netlify.
The idea here is to explore the concept of deploy-based development. Netlify is a great starting point for static site generators – there are many others besides Eleventy – but there are several other options out there. Please note that this isn’t an Eleventy or Netlify guide, we’re talking about the tool here.
Okay, enough premises – here we go!
Git in the center
The center of this workflow is git. You can roll your own git server if you like, or use the likes of Github, Bitbucket, or Gitlab. They’re all great, to be honest, but I’ve transitioned (back) to Github personally, and professionally too. It’s deeply integrated with many services, including Netlify.
This is how we’ll work:
- Setup a site on Netlify, with the help of Github – we’ll get a repository to push to with all the bells and whistles.
- Make changes to the code, and push to our repository Github.
- Let Netlify do the heavy lifting, and build using Eleventy, by pulling the changes from the repository on Github.
When you run Eleventy, which is a static site generator, on your computer, you need Node.js and some dependancies. You give Eleventy a build command, and it’ll take the things you’ve done – HTML, CSS, JavaScript, written pages and posts – and build a static site for you. A static site is basically a website consisting of files, not something like WordPress which pulls data from a database at all times. A static website has every chance of being snappy because of this – no waiting for a database – although you shouldn’t assume it’d be faster than, say, a WordPress site with proper caching. It’s complicated.
We can run Node.js (and, presumably, Eleventy) on an iPad, but that’s not what we’re doing. I haven’t used any apps that do this well enough. So we let Netlify run it for us.
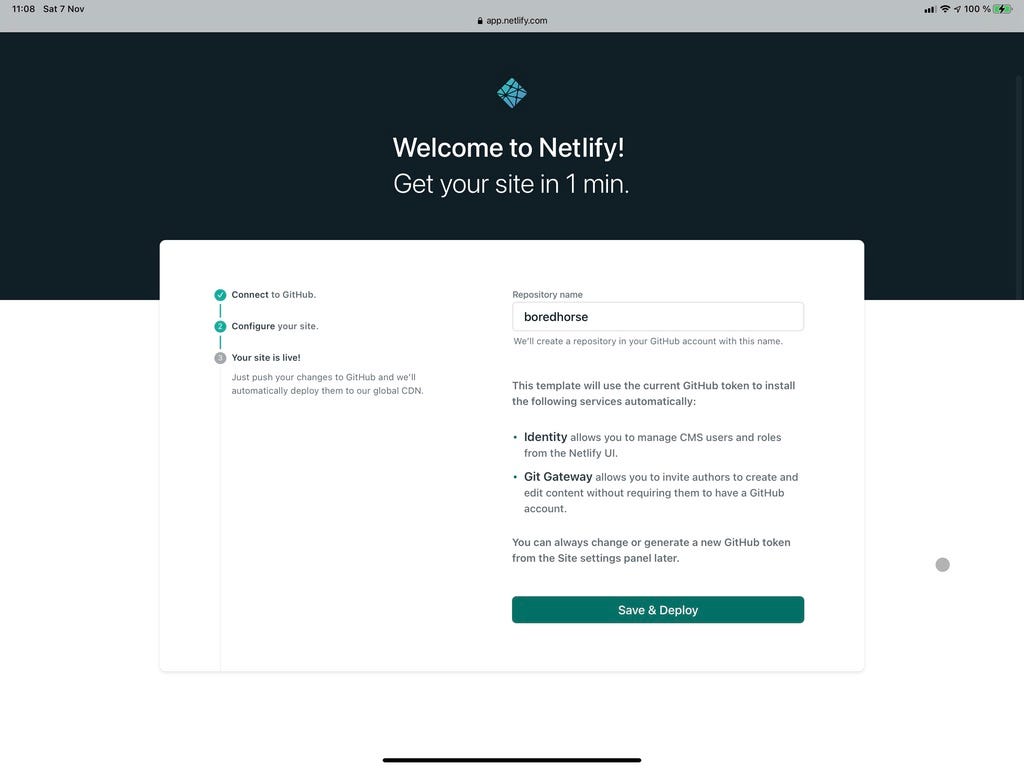
The deploy to Netlify button is a powerful thing. Clicking it will get you into a wizard where you can connect your Github account, and they’ll fork a git repository for you, giving you a starting point. This is what we’re going to do. I’ve used the eleventy-base-blog starter for Eleventy. This gave me a boredhorse repository on my Github account. That’s where we’ll work, knowing that when we push something to a feature branch (i.e. not master/main) it’ll give us a preview link, and the main branch will go live on our test URL.
It’s all pretty nifty, and cheap if you’re just playing around. Again, I won’t go deep on the web tech here, but there might be better options for you. Netlify is very easy to get started with, and the free account will do for you personal playground for sure. It’s when we need to get fancy that it might not be the perfect fit.
Bored Horse will do just fine launching on free, but I’ll push it to pro soon enough. Just you wait.
So, how do we git?
Git (or Github in particular, in our case) is the center of our workflow. We need an app to do our git commits. I like Working Copy for this, it’s brilliant, and technically all you need since you can edit files right there. I wouldn’t advice it though, unless it’s a readme or todo text file – there are better code editors out there.
Anyway, Working Copy will let you log-in to your git provider of choice. You’ll be up and running in a jiffy if you’re with one of the larger ones. The best thing about it though, is that it works in iCloud Drive and thus integrates perfectly with other apps.
I’ve got my boredhorse repository in Working Copy, the one Netlify created for me on Github. All good, now let’s forget about it for a couple of minutes.
Enter Textastic
Textastic is, in my opinion, the best all-round code editor for the iPad. It’s been around for quite some time, and if you’ve been youtubing and googling these things, you’ve no doubt heard about it before. It supports multiple languages and if your files look weird you can just pick what kind of syntax highlighting you want. This is useful if you work with Eleventy, because although there are various templating options, many starters will use something called Nunjucks, and it’s not an actual programming language so I like to set it to HTML. Problem solved, code syntax is now pretty.
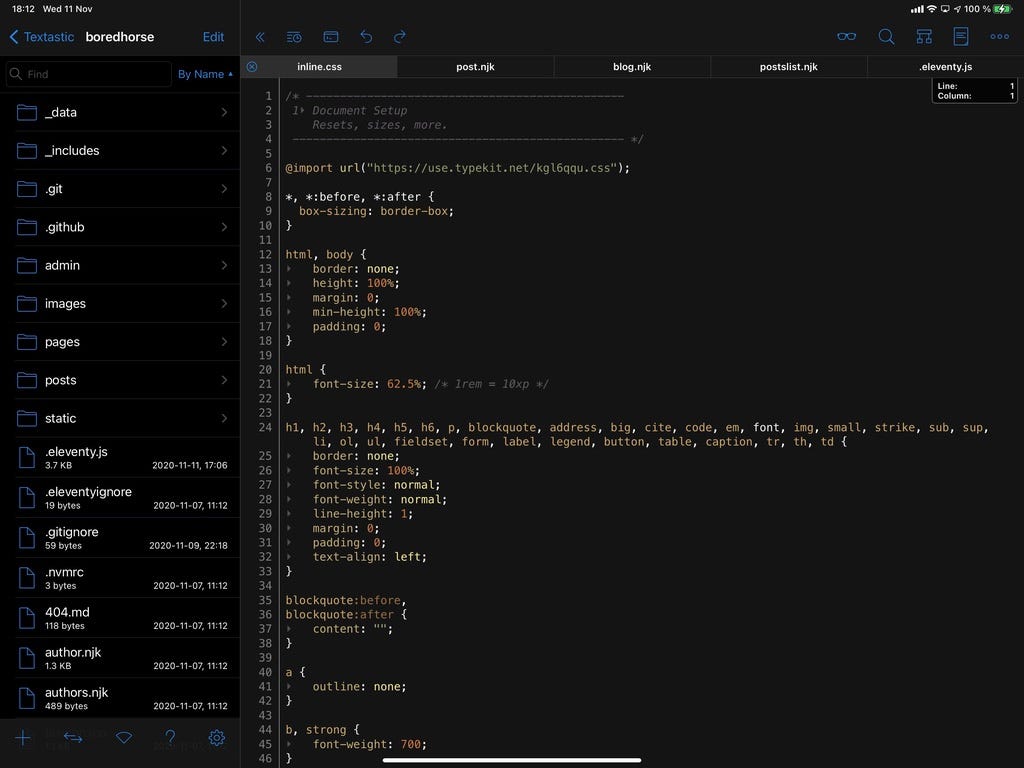
Textastic supports opening locations outside of the app if they’re using the iCloud Drive API. That means that you can open a git repository that you have in your Working Copy, which means I can add the boredhorserepository to Textastic. Every update I do to a file in the repository will also be true in Working Copy, thus I can push it to Github, and that means it’ll get built on Netlify since that’s what Netlify does. This is a deploy, if you’re unfamiliar if the term.
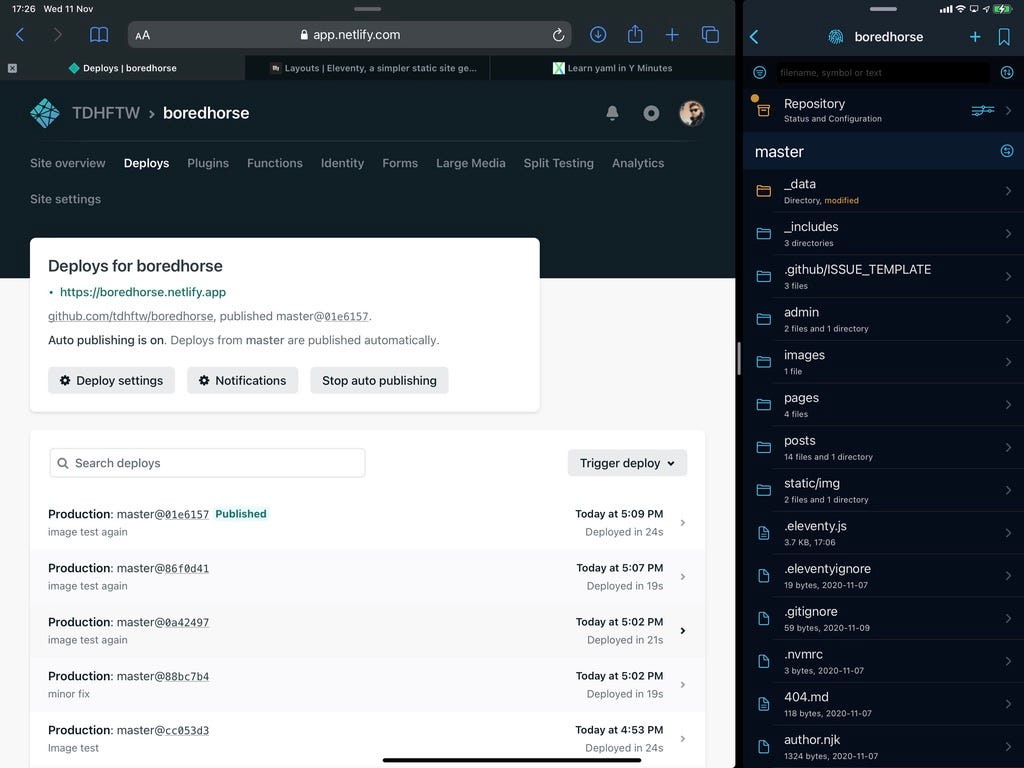
Some people like to have Textastic and Working Copy open in Split View, and I do too sometimes, but screen size is limited and I find that I want the full screen if I need to navigate between folders in Textastic often. For this project, I’ve got a Safari window and Working Copy in Split View view, so that I can keep an eye on the deploy build process. Find what works for you and your project.
FTP and SSH in TextasticWhile we won’t be doing any FTPing or SSHing in this issue, know that you can connect to both using Textastic. It’s truly a versatile code editor.
Inspecting
Every web developer knows that you often have to expect your code in the browser. That’s not something Safari on iPadOS can do, there are no developer tools there, but luckily there are several apps to help out. I like Inspect Browser, which is a web browser with a code inspector. It’s very similar to what you have in Safari, Chrome, or Firefox on your Mac or PC, albeit a bit simpler. It gets the job done though, especially for HTML and CSS. Without something like Inspect Browser, you’d have to rely on bookmarklet solutions, and those just aren’t as good.

The workflow is something like this, after having a git based deploy system set up.
- Sync a repository with Working Copy.
- Open the repository in Textastic.
- Write code, add assets, and so forth, in the repository, using Textastic.
- Push the changes to the repository with Working Copy.
- Wait for the deploy to happen.
- Check the result in Inspect Browser.
Rinse and repeat.
Now, there are other ways to go about this. You could obviously SSH into a server and use something like Vim in a terminal app, or write the code in Textastic and then upload it using the built-in FTP feature. This particular setup works best if your development is git based, and you like things like continuous integration. It is a great fit for the Bored Horse project, but not all projects are built around deploying to a service that’ll do the building for you. WordPress, the world’s largest CMS by far, is a whole different beast, requiring a different kind of setup, and I’ll cover that in a future issue.
Bored Horse isn’t entirely done. I’ve got something that plays nicely – it works – but it needs some love. The site is entirely designed (see previous issue), and developed on my iPad Pro. In fact, I even learned Eleventy while doing this, so I’d say it’s been a rewarding venture thus far.
We’re not done with Bored Horse just yet! I’ll tinker some more, and then we’ll return to it to talk about writing and updating a site such as this, where there isn’t an admin interface to log-in to (or is there…) for content management. You might be surprised by the setup I have in mind.
This is real. Bored Horse will be a real thing, and you’ve all been along for the ride. How about that?
More importantly, I want to show you all that it’s entirely possible to both design and develop for the web on an iPad. This is one scenario, but it’s not the only one, so we’ll return to the topic soon. Don’t hesitate to get in touch – reply to this email if you’re reading in your inbox, comment below, or tweet to @tdh – if you have thoughts on the matter.
Until next time, stay safe.